
Getting Started
- Deploy Formulize to your website
- Setup a local development environment
- Use Formulize with AI
- See the Roadmap
Professional Services
Help and Documentation
Using the Formulize Installer
If you’re setting up a Formulize site for the first time, you will need to follow some steps and use the installer.
-
Create a database on your server, note the name, and the username and password used to access the database. Make sure the database user has full rights to the database, including the ability to ALTER tables, etc.
-
Create a “trust” folder on the website, preferrably outside the web root (but some server configurations can’t read a folder outside the web root). This folder will be used by Formulize to store the database name, and the username and password for accessing the database.
-
Get the Formulize files onto your server and into the webroot folder. Make sure the folders that need to be writable by the server, are writable. Also, make sure that
mainfile.phpin the root of the website, is writable by the server. -
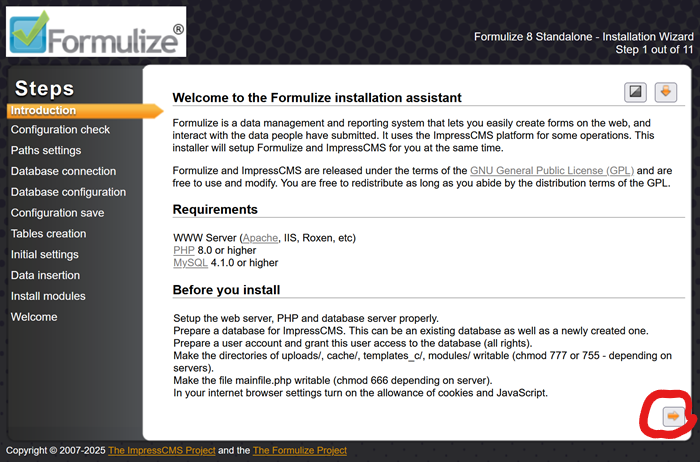
In a web browser, browse to the folder where you placed the Formulize files. ie:
https://mysite.comif you put the Formulize files in the root of your website, orhttps://mysite.com/formulize/if you put the Formulize files in a subfolder named formulize, for example.The Formulize installer will appear. Click the arrow in the bottom right to continue.
-
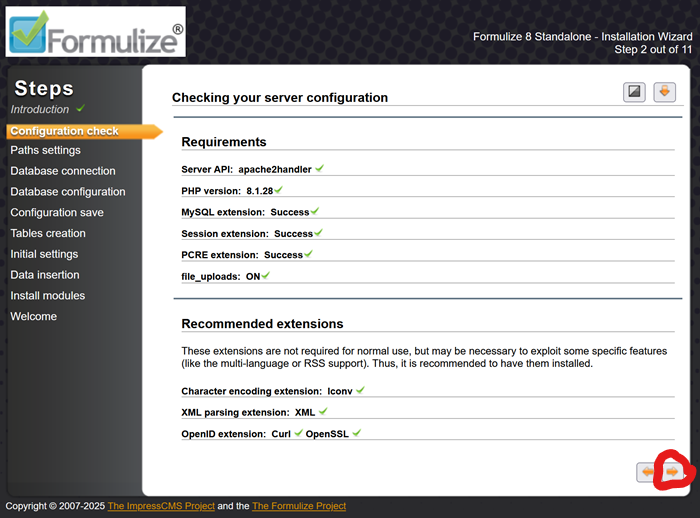
The installer will check if your server meets the requirements for Formulize. If it does, click the arrow in the bottom right to continue.
-
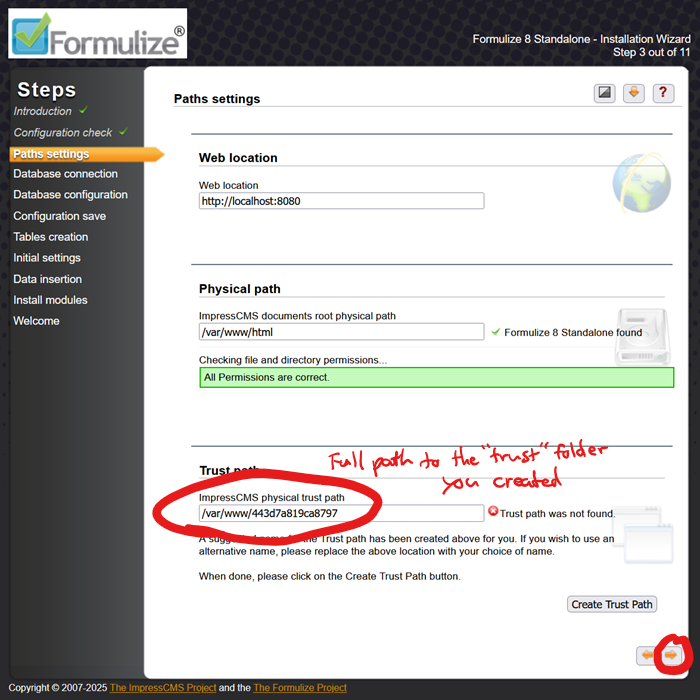
The installer will automatically fill in the URL and physical path for you. You need to specify the trust path yourself. This should be the full path to the folder you created in step 2 above. Ideally, this folder should be outside the web root.
Once you’ve put in the correct trust path, click the arrow in the bottom right to continue.
-
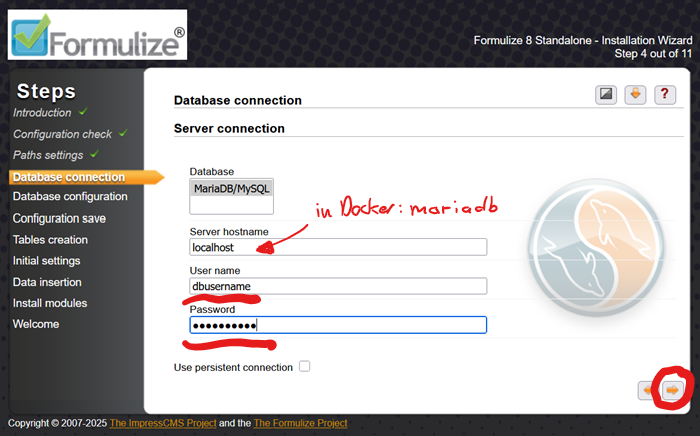
Next, the installer will ask for your database details. Enter the username and password for your database, that you created in step 1 above. Also, if the database is not on the same server with the web server, then change localhost to whatever it should be.
If you are installing in Docker, use mariadb as the Server hostname, NOT localhost!
Once you are done, click the arrow in the bottom right to continue.
-
On the next page, enter the name of the database you created in step 1 above. Leave everything else as is. Once you are done, click the arrow in the bottom right to continue.

-
On the next page, the installer shows the system configuration details it is about to save in
mainfile.phpand in the trust path. Click the arrow in the bottom right to continue.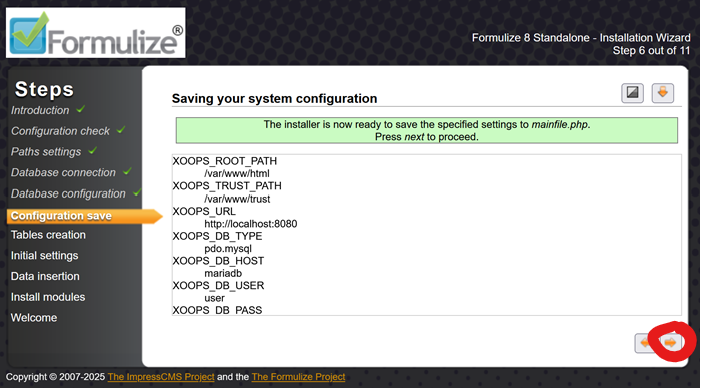
-
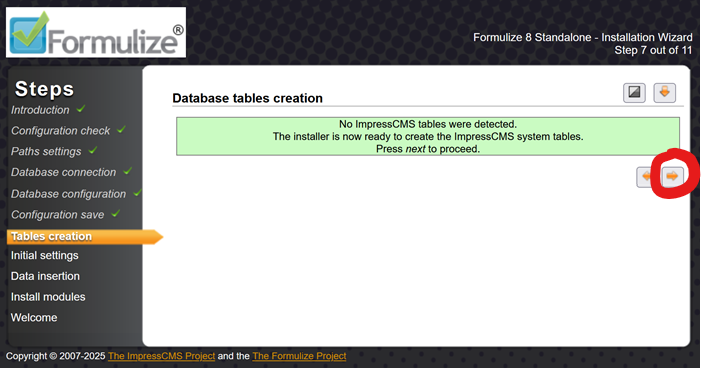
The installer will create a series of tables in the database. Click the arrow in the bottom right to continue.
-
The installer shows the tables it created. Click the arrow in the bottom right to continue.

-
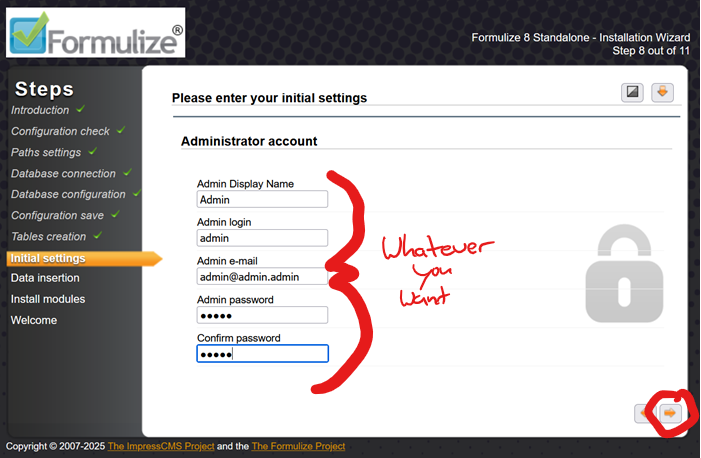
You can now specify the details for the initial webmaster user of your Formulize system. Once you have done this, click the arrow in the bottom right to continue.
-
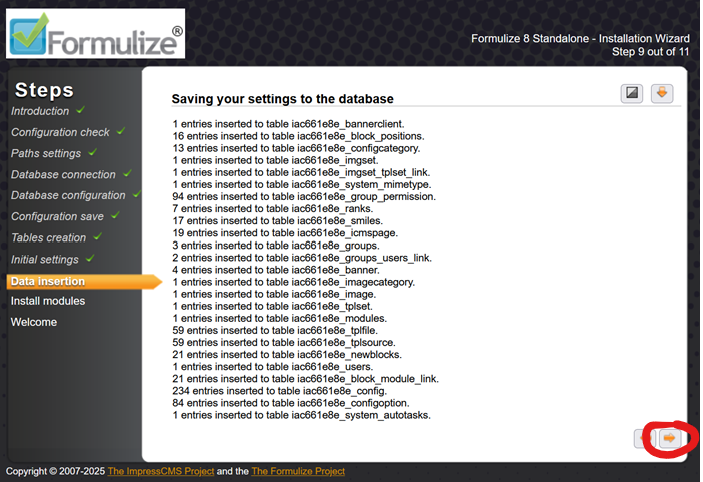
The installer will next add the initial configuration data, including your webmaster user, into the database. Click the arrow in the bottom right to continue.

-
The installer shows what data it saved in the database. Click the arrow in the bottom right to continue.
-
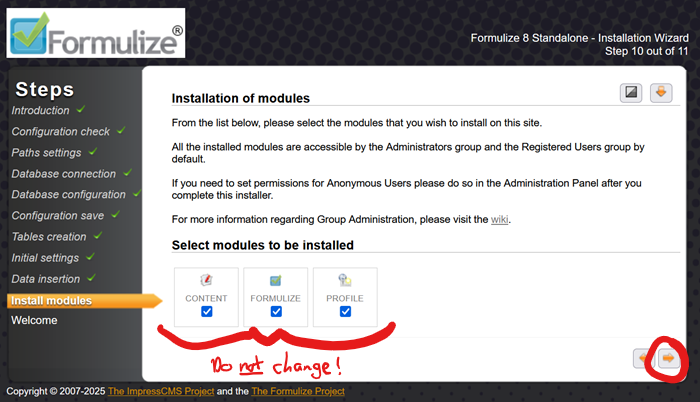
Lastly, the installer enables “modules” in the system, including Formulize. DO NOT change the selected modules. Just click the arrow in the bottom right to continue.
-
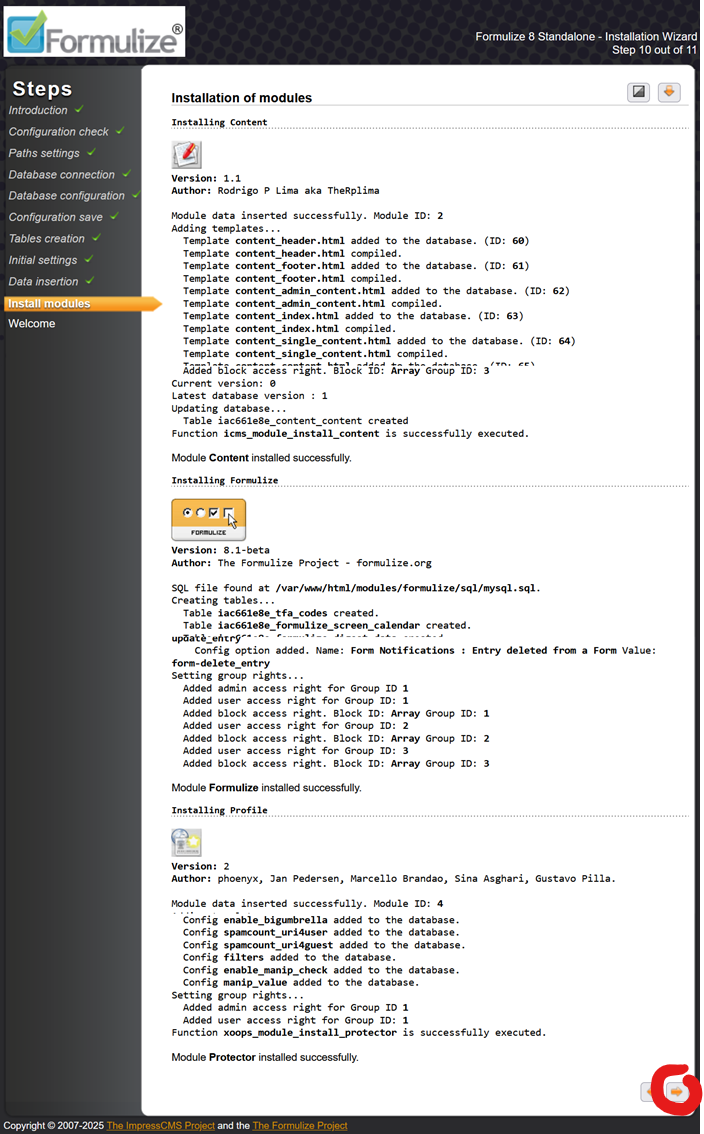
The results page after enabling the modules, is very long. Scroll to the bottom, and click the arrow in the bottom right to continue.
-
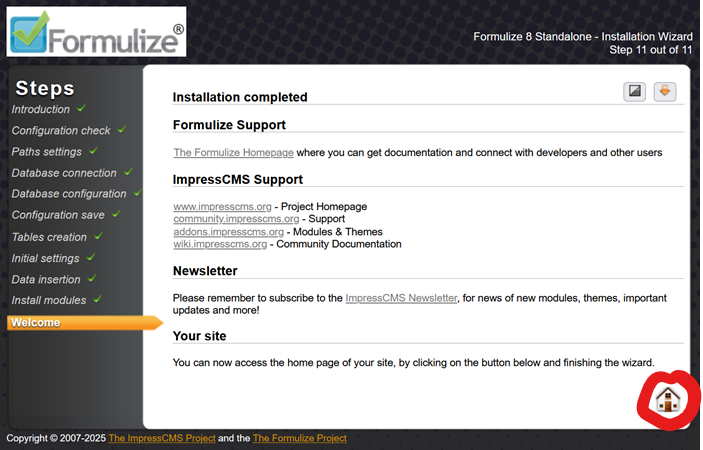
On the last page of the installer, click the house icon in the lower right to go to the front page of your new Formulize system!
-
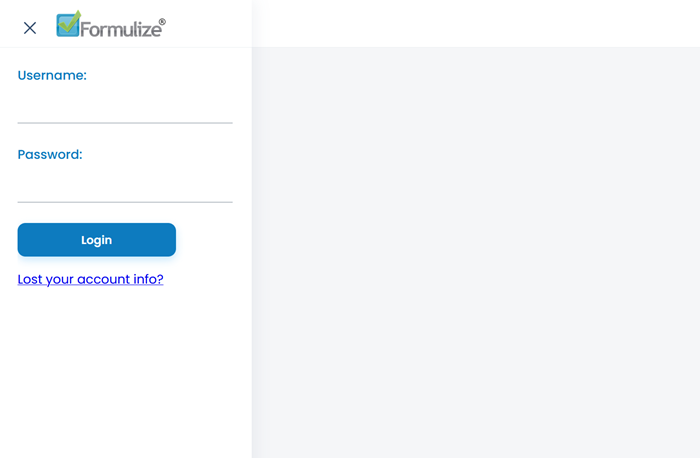
Welcome to Formulize! Enter the webmaster username and password you created in step 12, and start creating forms and applications!
-
Now that everything is installed, set 400 permission (read-only, owner-only) on the
mainfile.phpand the “trust” folder and its contents. If for whatever reason the web server user is not the owner of those files, make the web server the owner of the files.